Find A Recipe
Select Page

Blackberry and Peach Crisp

Let's Get Started!!


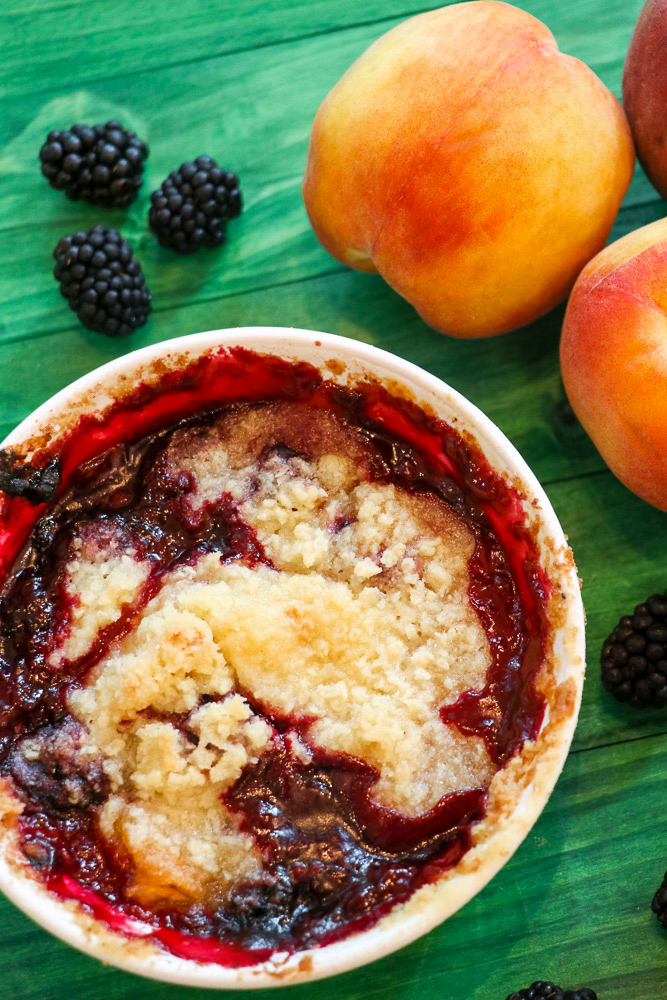
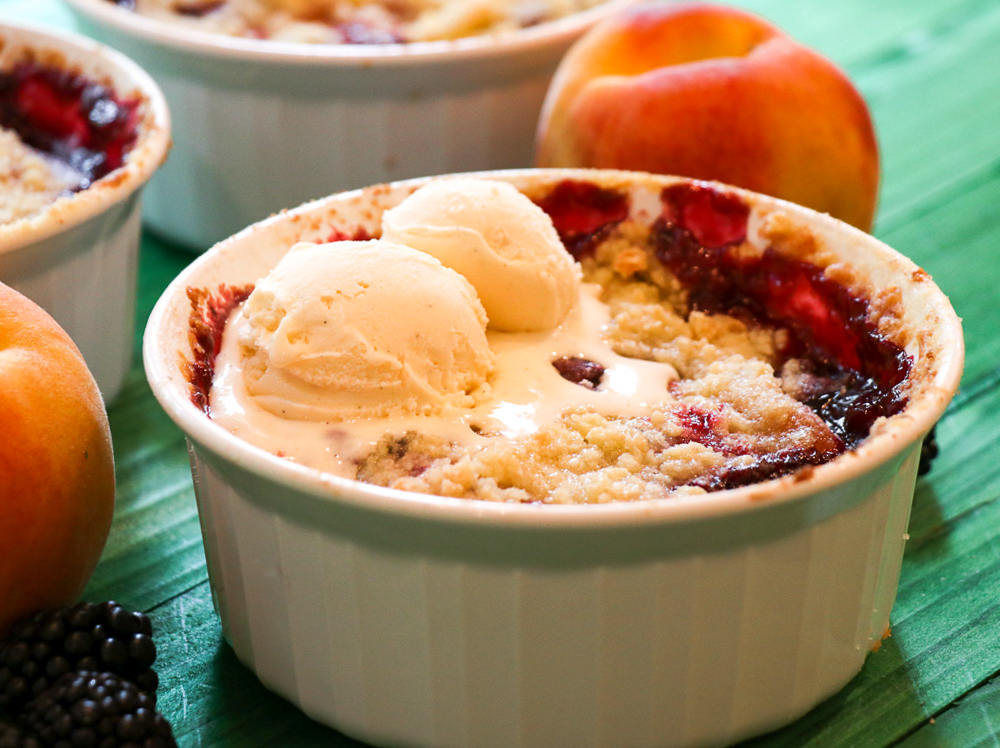
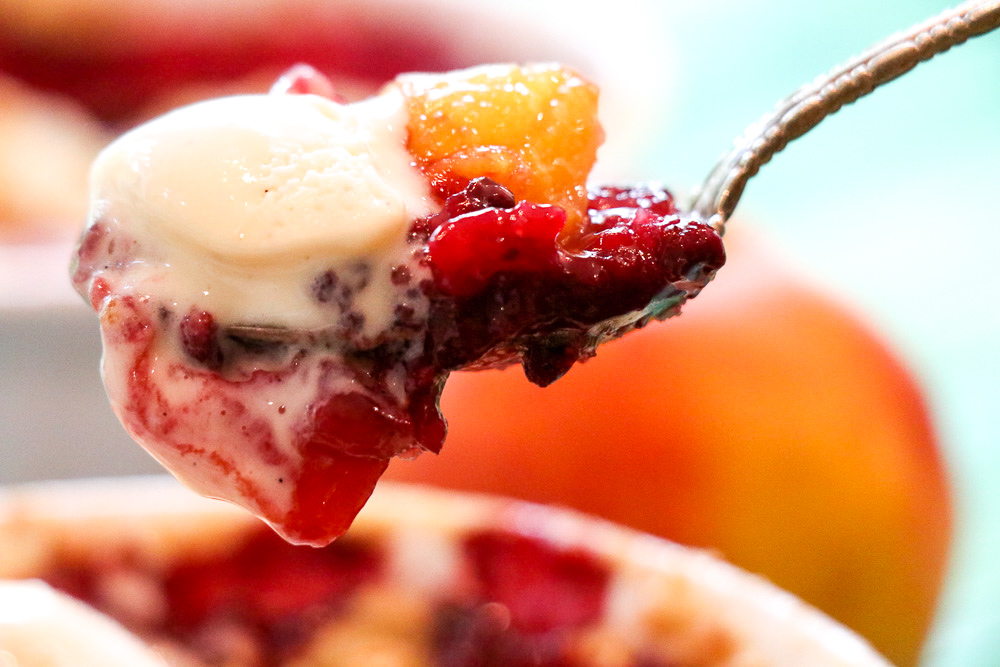
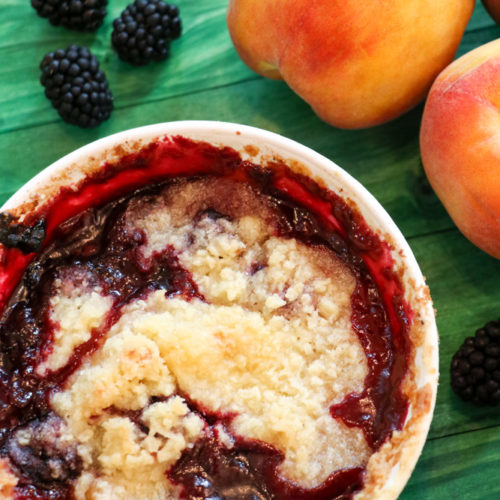
Blackberry & Peach Crisp

Roberta Reynolds
Blackberry and peach season is upon us, so what better time than to jump right on this recipe? The perfect crisp is in the eye of the beholder. Some absolutely must have oatmeal in their crisps, while others insist on nuts. I prefer neither, but go after that rich, buttery and slightly crispy crust with fruit juices oozing through around the edges. Nirvana. If you prefer oats in your version, go ahead and replace half of the flour with them. All of you nut fans out there – add a cup chopped nuts to the topping mixture. What the heck? Do both if you like. After all, this is now your recipe….
Prep Time 30 minutes
Cook Time 1 hour
Total Time 1 hour 30 minutes
Servings 12 servings

Ingredients
  

  • 5 cups skinned sliced peaches (fresh or frozen)
  • 5 cups blackberries fresh or frozen
  • 1 teaspoon cinnamon optional
  • 1 cup granulated sugar
  • 1 ½ cups all-purpose flour
  • ¾ cup granulated sugar
  • ¾ cup cold butter

Instructions
 

  • If using fresh peaches: To skin peaches, submerge in boiling water for 30 seconds. Remove immediately and plunge into cold water. When peaches have cooled, skins should slip right off.
  • If using fresh blackberries, just wash gently in cool water and drain in a colander.
  • In a large bowl, combine peaches, blackberries, cinnamon and sugar. Set aside.
  • In a food processor or other bowl, combine flour, sugar, and butter. Process until crumbly. If working by hand, blend ingredients together with a pastry blender or two knives until crumbly.
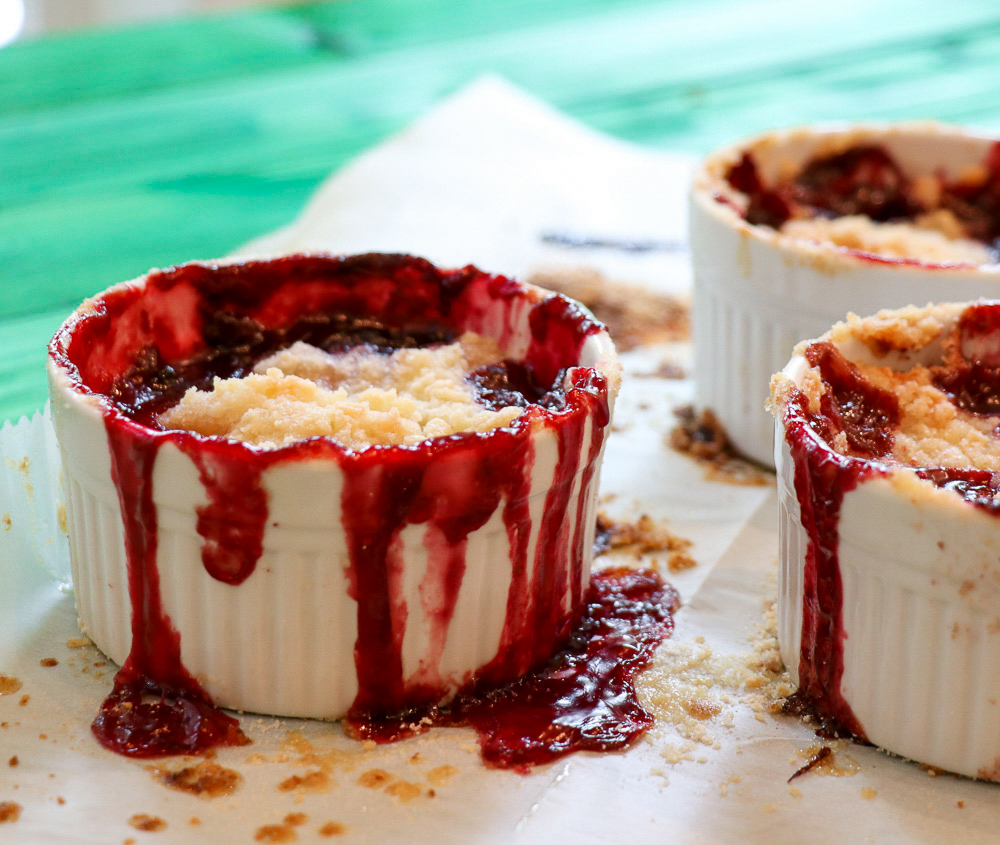
  • Arrange blackberry & peach mixture in a 13x9 inch greased baking dish, or spoon into individual ramekins.
  • Using your hands, sprinkle about ⅓ of the crumb mixture over top of the fruit, then gently stir it into the fruit mixture. Sprinkle the remaining ⅔ of the topping onto the fruit mixture. If you squeeze your hands together to form clumps its all the better!
  • Bake at 350 for about an hour or until peach mixture bubbles and crust begins to brown.

This is really and truly a very simple dessert. First, the fruit is mixed in a 13×9 inch baking dish, or individual ramekins, so let’s start there. Because it’s what I had, I used frozen, thawed peaches and boysenberries. Fresh is always better, but frozen will also send you into orbit. Just smooth them around a little bit to get mixed up. Next, mix 1 teaspoon of cinnamon (or more if you are so inclined) into a cup of sugar. Sprinkle on the berries and gently toss around. Let’s just let them sit there like that for a few minutes to get their juices all fired up.

In the meantime, onward to the topping. Mix together flour, sugar and cold chunks of butter, until the butter is about the size of peas. A food processor makes quick work of this if you have one. If not, cut the butter in with two knives, or just use your fingers to smoosh it all together. When you are all finished, it looks like this: And here is a secret trick: Take about 1 cup of the topping mixture, sprinkle over the fruit and swirl it all around the assorted baking dishes. The flour helps to thicken all of those juices, butter adds some richness, and we can always use more sugar.

The remaining topping mixture gets sprinkled over the top of the baking dish. If you kind of squeeze the topping between your fingers as you drop it on the fruit, you will be rewarded with nice big baked crumbles when the crisp is finished. It is difficult to resist ‘accidentally’ breaking them off in your hands and eating them when it is still hot out of the oven. I would not recommend this however, because I have scorched several fingers in that particular endeavor. Besides, it is hard to explain big, gaping holes in a freshly baked dessert.

The remaining topping mixture gets sprinkled over the top of the baking dish. If you kind of squeeze the topping between your fingers as you drop it on the fruit, you will be rewarded with nice big baked crumbles when the crisp is finished. It is difficult to resist ‘accidentally’ breaking them off in your hands and eating them when it is still hot out of the oven. I would not recommend this however, because I have scorched several fingers in that particular endeavor. Besides, it is hard to explain big, gaping holes in a freshly baked dessert.

Also, I would strongly recommend putting a foil lined baking sheet under the crisp to catch any wayward juices from boiling over. I did not take my own advice last time, and was rewarded with a lava flow of berry juice all over the bottom of the oven. Not pretty. …

Hey!! Enough talking already – how about we get that ice cream out of the freezer and get down business? This is so easy, and so delicious. YOU CAN DO THIS – Have you secured your hiding places? Good. NOW GET GOING!!! Happy baking!! xoxoxoxo

Hello. I’m Roberta Reynolds.

I’m so glad you dropped in! Welcome to Bird’s Nest Bakery and Café, a collection of ‘made from scratch’, seasonal recipes developed in my home kitchen. I’ve been obsessed with creating the easiest and most delicious recipes possible since I could reach the top of a stove.

I hope you’ll find this site a welcome and relaxing place where you can come for inspiration and ideas. Take a look, have fun, and feel free to modify these recipes to suit your particular palate. It would make me so happy if you would share these recipes with friends and family. After all, cooking and baking are meant to be shared with those we care about. That’s what’s so much fun about it!