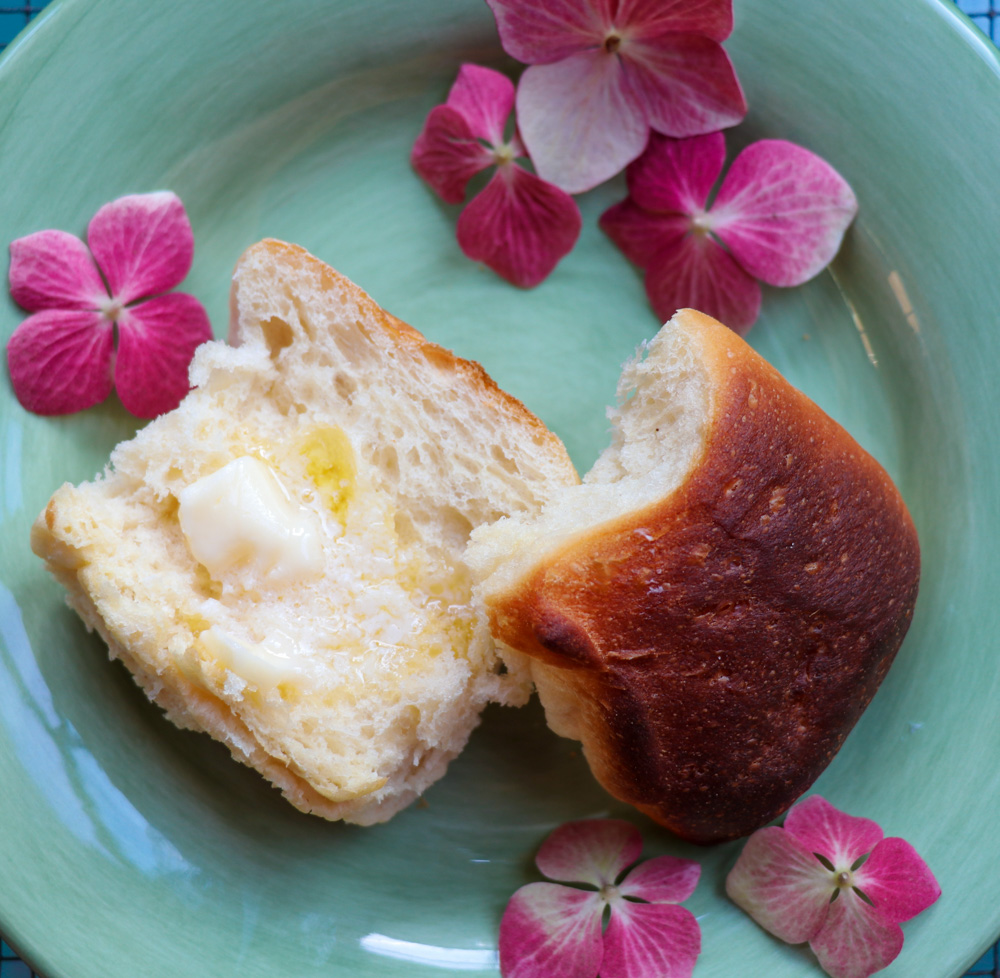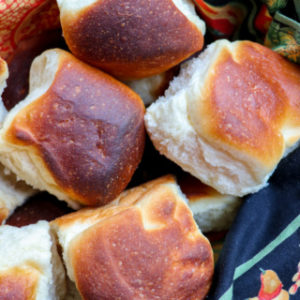
Grandma's Dinner Rolls
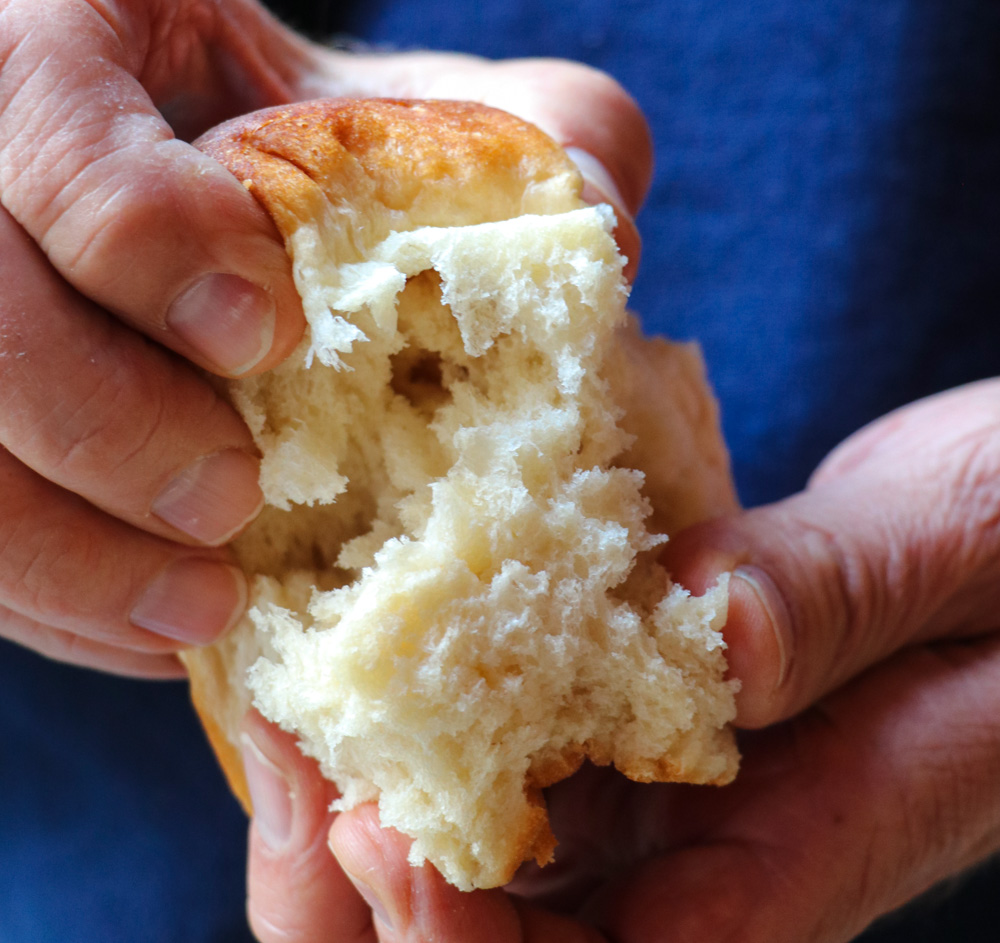
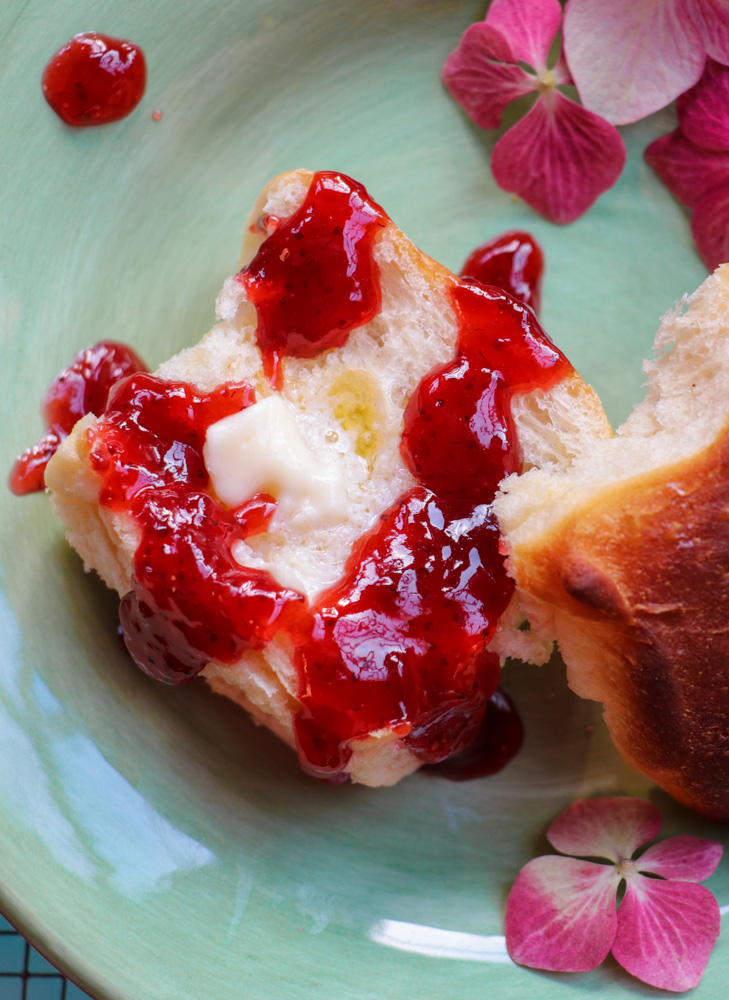
These yeasty rolls are my attempt at coming close to the delicious rolls my grandma Liz used to make. As a young aspiring baker, I’d watch her assemble dozens of at a time, tossing an armload of dough around like it weighed nothing, and tearing off perfectly shaped rolls that she would let rise by her wood stove. She never measured anything, mixing and baking by feel alone – and they were perfect. I have fond memories of eating as many as I possibly could every Thanksgiving and Christmas Eve – or as many as I could get my hands on. Grandma had seven children and hordes of grandchildren, and when everybody got together it was like a small city which means you had to move fast before my seemingly huge uncles with even huger appetites beat me in line. Grandma did not have a recipe as you may have guessed, so I spent years trying to get as close as I could to what she did so effortlessly. I finally got to where I think she might be proud, and I owe it all to Julia Child because this is pretty much her recipe. If you have a bread machine laying around, haul it out and use the dough cycle for this recipe – that’s how I handle it. These rolls can be made grandma’s way, with just your two hands and a sturdy wooden spoon. There isn’t much better on the planet than biting into one of these babies. Slathered with butter, of course. Recipe adapted from ‘Baking with Julia’.
Ingredients
- 3 cups unbleached all-purpose flour
- 3 tablespoons powdered buttermilk
- 1 teaspoon salt
- 2 ½ teaspoons active dry yeast NOTE: If I were you and your yeast was a year old or more regardless of what it said on the package, I’d toss it out and replace it. Speaking from experience, I did not do this one time and ended up baking 4 dozen rolls that only rose about halfway. What made it worse was I was using them as sample for a cooking class on rolls I was teaching UGH!!
- 3 tablespoons pure maple syrup or honey
- 1 tablespoon butter room temperature if using bread machine; melted if mixing by hand
- 1 cup water
Instructions
- IF USING A BREAD MACHINE
- Place all ingredients in bread machine in order recommended by manufacturer and set to ‘Dough’ cycle. When cycle has completed, remove dough from bread machine pan and place on lightly floured surface.
- IF MAKING BY HAND
- Stir together water, yeast, melted butter, and honey in small bowl and let stand until foamy (about 5 minutes).
- In a large mixing bowl, stir together flour, powdered buttermilk, and salt. Add yeast mixture slowly and stir (or mix in a mixer on low speed) until a soft dough forms. (If using a mixer, continue mixing on low speed until dough clings to dough hook or mixer paddle and cleans sides of bowl, usually about 4 minutes).
- If mixing by hand, turn out dough onto a floured surface and knead until smooth and elastic (about 6-8 minutes)
- FORMING AND BAKING – IF YOU WERE USING A BREAD MACHINE OR MIXING BY HAND
- Preheat oven to 400 degrees.
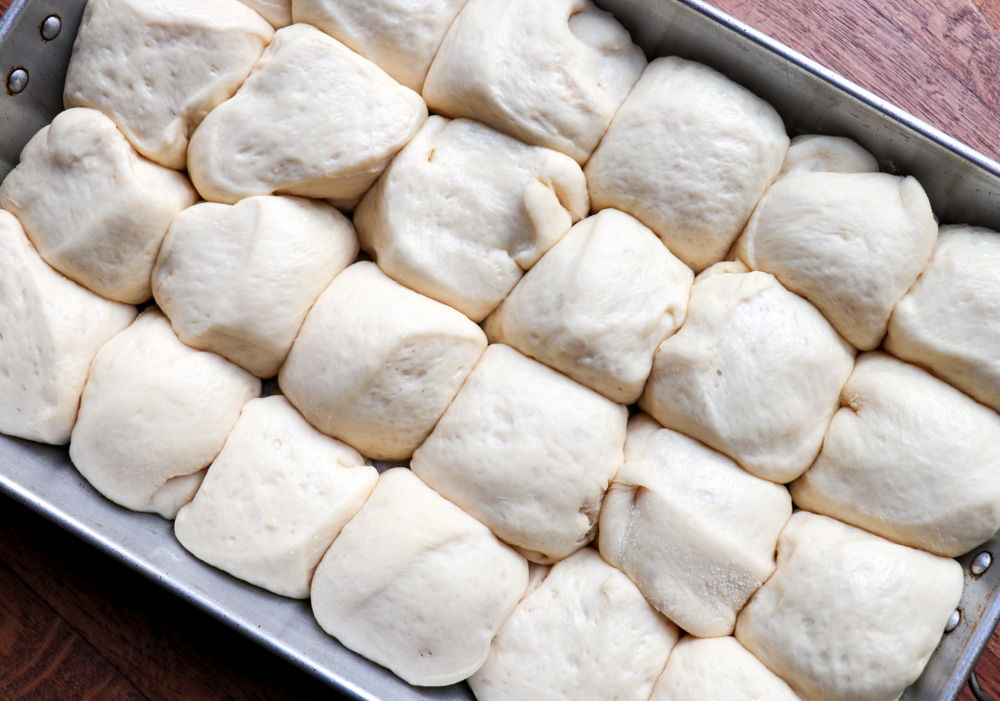
- Using a bench knife or other type of sharp knife, divide the dough into 12 equal portions.
- Arrange in a greased, 13X9 inch-baking pan. NOTE: At this point, I spray the tops of the rolls with cooking spray or canola or other neutral oil to prevent them from drying out on top. Cover lightly with cotton towel and set aside in a warm place to rise for about an hour, or until doubled in size.
- Remove towel and lightly spray tops of rolls with cooking spray (yes, again ).
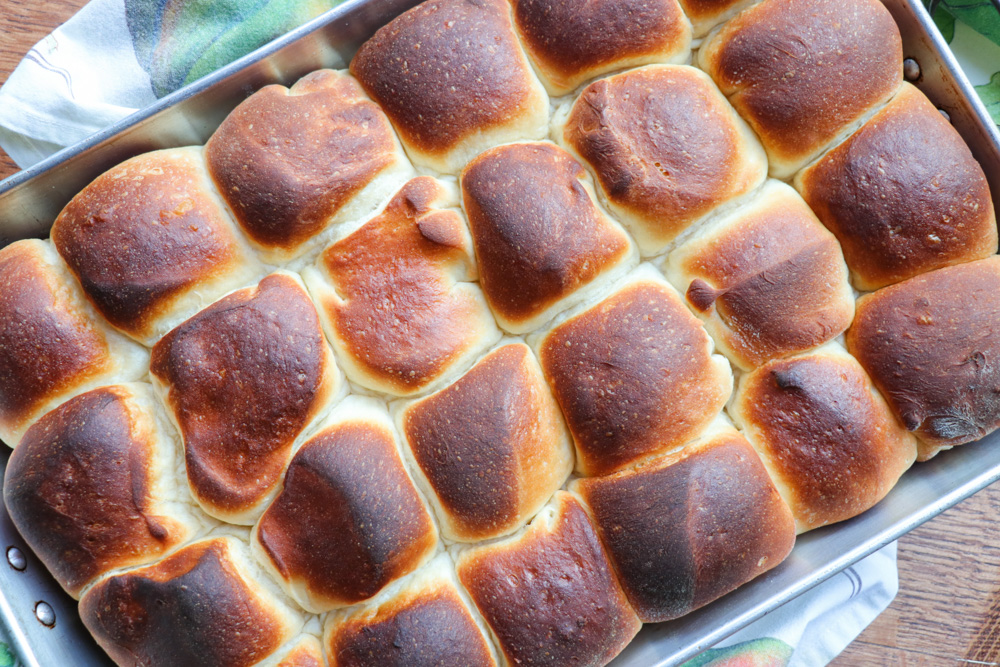
- Bake for about 15-20 minutes, or until a bit darker than golden brown. NOTE: You’re going to want to be very careful here. I have been the laughing stock of our family for taking my rolls out of the oven too soon one year, and they were a doughy mess. If in doubt, it’s better to over-bake a little bit rather than risk the ridicule of your loved ones.
- Remove from oven and allow to cool for about 10 minutes. Slide on