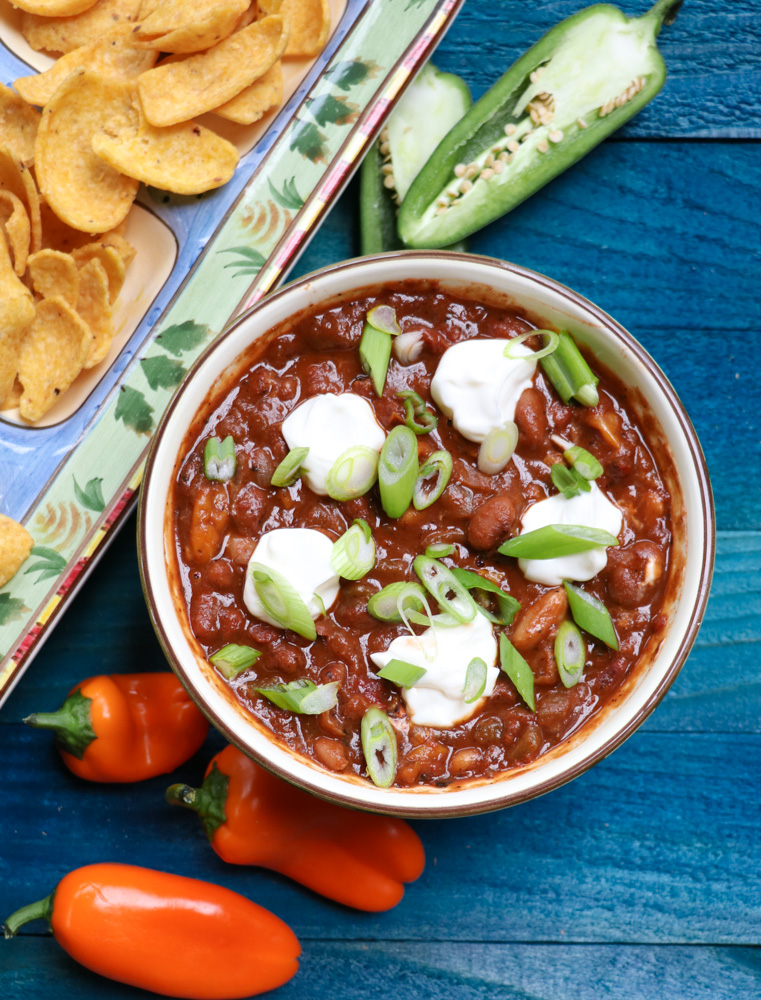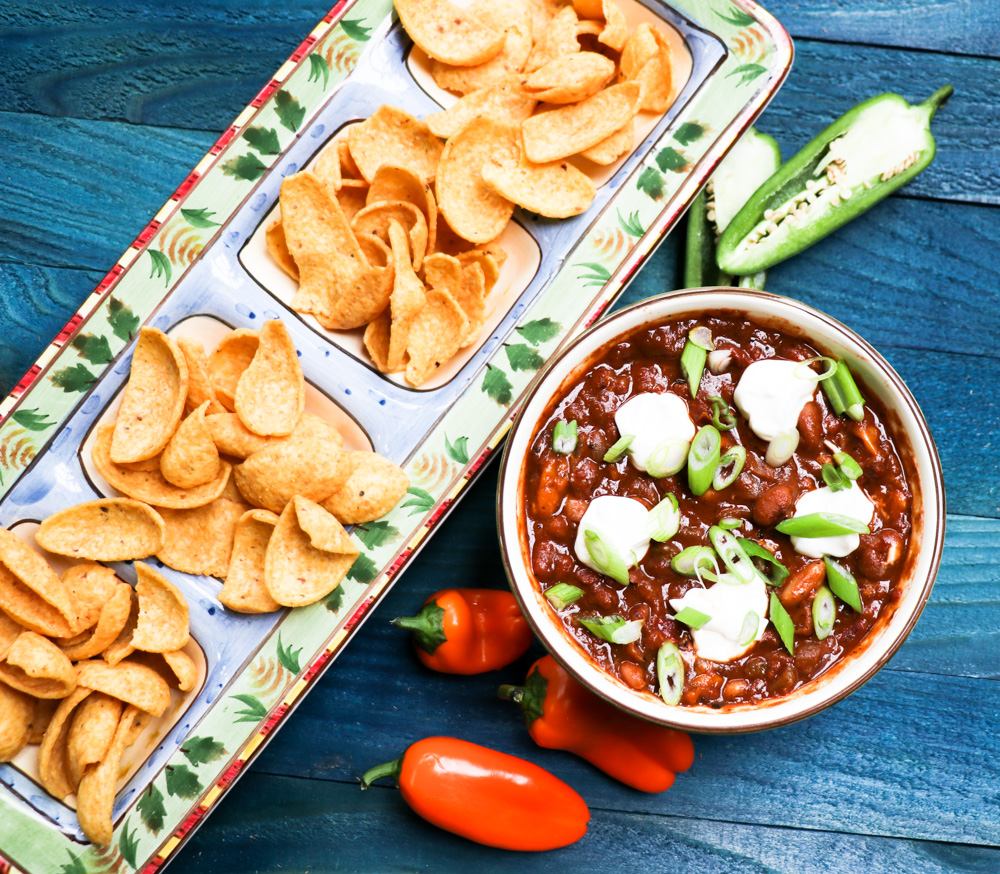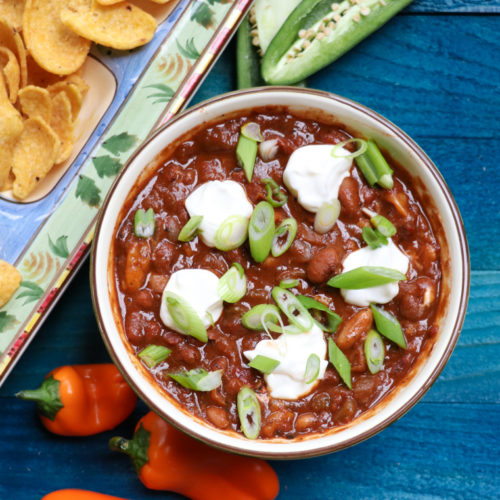
Slow Cooker Vegetarian Chili with Cinnamon, Cocoa & Espresso
This vegetarian chili is full of flavor, thanks to three varieties of beans, sautéed onion and mini-peppers, and hold the phone…why in the world would anybody add some weird stuff like cinnamon, cocoa, and espresso to all that? Here’s the thing: all of those spices and other stuff add a deep and savory flavor. And no…you won’t taste the cinnamon, the cocoa, or the espresso, but you will know something good is going on in there that you just can’t quite put your finger on. I sautéed the vegetables first, then threw everything else into the slow cooker, because as we’ve covered before, I am basically a lazy cook. Oh wait! I also added a bottle of a good Stout beer. Sound weird? The Stout has coffee and chocolate undertones (sound familiar?) but also adds a subtle bitterness to the chili that ups the flavor meter to the ‘just right’ setting. Like most chilies, this is better the second day, so if you can throw it together the day before and reheat it, the flavors will get a chance to mellow and get to know each other, and that’s always a good thing.
Ingredients
- FOR THE CHILI
- 1 large onion diced
- 2-3 cups sliced or diced yellow or orange mini or bell peppers
- 2 cups or about 1 can cannellini beans (otherwise known as white kidney beans) – if using canned beans, rinse and drain – If cooking your own dried beans, use 1 cup dried
- 4 cups or close to two cans red chili beans – if using canned beans, rinse and drain – if cooking your own dried beans, use 2 cups dried
- 4 cups or close to two cans pinto beans – if using canned beans, rinse and drain – if cooking your own dried beans, use 2 cups dried
- A NOTE ON COOKING YOUR OWN BEANS: If you choose to cook your own beans they are also a snap to do in the slow cooker. You’ll need to start a day before cooking the chili, since the beans need an overnight soak in plenty of cold water and time of their own in the slow cooker. Put enough water in a bowl to cover the beans by about 3 inches and add a good tablespoon of salt to the soaking water. No kidding – this will flavor the beans. When ready to cook, just drain the soaked beans, throw them in your slow cooker with plenty of water to more than cover by a couple of inches, add a little more salt, some garlic and a bay leaf or two if you want, then turn your cooker on to HIGH and let them go until done. This will usually take a good 2-3 hours or more, depending on the age of your beans. When they are soft, just drain them and you are good to go.
- 2 large cans 7 ounce diced green chilies
- 2, 28 ounce cans fire roasted tomatoes either diced, crushed, or one of each – not tomato puree
- 1 bottle of Stout Beer I used Obsidian Stout from Bend, OR look for one with chocolate and/or coffee flavor tones
- 3 tablespoons chili powder
- 4 tablespoons cumin
- 1 teaspoon granulated garlic
- I packet Starbuck’s VIA instant coffee OR 1 tablespoon espresso powder
- 3 tablespoons unsweetened cocoa powder
- 1- teaspoon cinnamon
- Your choice of heat: add cayenne pepper diced Jalapeno peppers, or other hot things to your own taste.
- Salt – to taste
- Water for thinning the chili
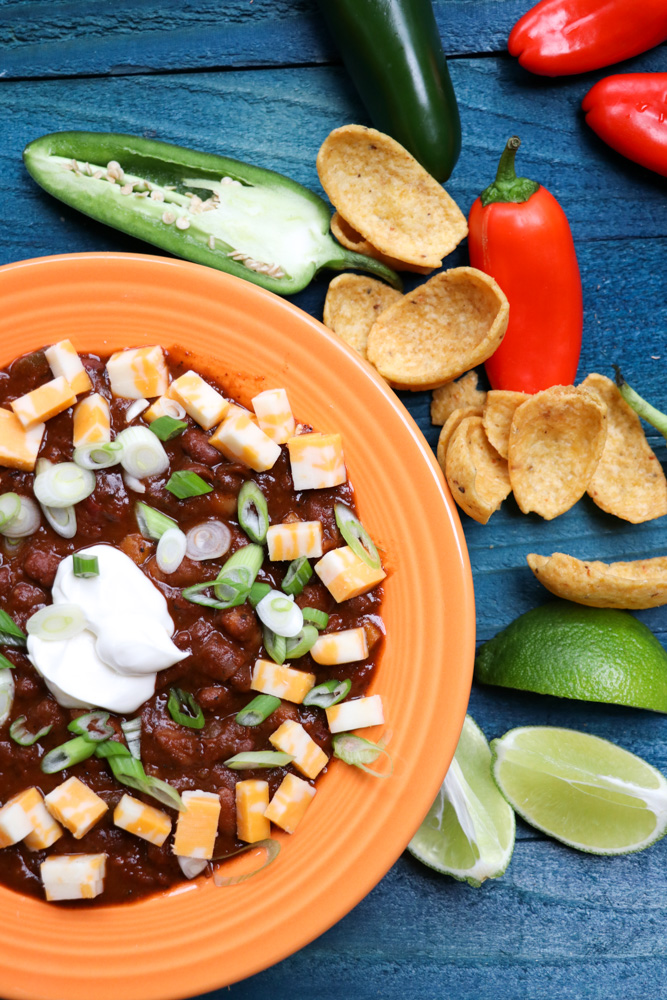
- OPTIONAL TOPPINGS
- Diced chunks of sharp cheddar Monterey Jack or other cheese of your choice
- Slivered green onion
- Sour Cream
- Diced Avocado
- Cilantro
- Corn Chips A must-have in my book
Instructions
- FOR THE CHILI
- In a sauté pan, cook the onion and peppers until softened.
- Spray a large slow cooker with cooking spray, and add the onions and peppers.
- Add the cannellini beans, chili beans, green chilies, and canned tomatoes.
- NOTE: This is the point where you make this recipe all yours – you may want to start a little slow with the spices and beer, and only use half to start. Turn on the slow cooker to HIGH, wait for the chili to heat up, and then taste to see how you like it. When you add the beer, start with half a bottle, then add more as you like. To me, it gives a nice, slightly bitter note to the flavor, but it might not be your thing. The bitter notes tend to soften the second day, just so you know.
- If the chili is too thick for your taste, just add water or vegetable broth if you have any hanging around.
- That’s pretty much it….give the chili at least a couple of hours once it gets nearly bubbling. This allows all of the flavors to get in there and get to know each other. And no kidding – this is even better the second day, so if you get a chance to get it going the day before serving you will be very happy with yourself.
- TO SERVE
- Test again for seasoning…OK? Then spoon into bowls and add whatever toppings strike your fancy.